Get Started: Difference between revisions
From Posstack.com Documentation
mNo edit summary |
|||
| (179 intermediate revisions by 2 users not shown) | |||
| Line 1: | Line 1: | ||
Easy Content Builder provides you with sections and templates (including metaobject templates) that can be added directly to your existing Shopify themes. | |||
We've assembled some links to get you started: | |||
==Quickstart Video Tutorials== | |||
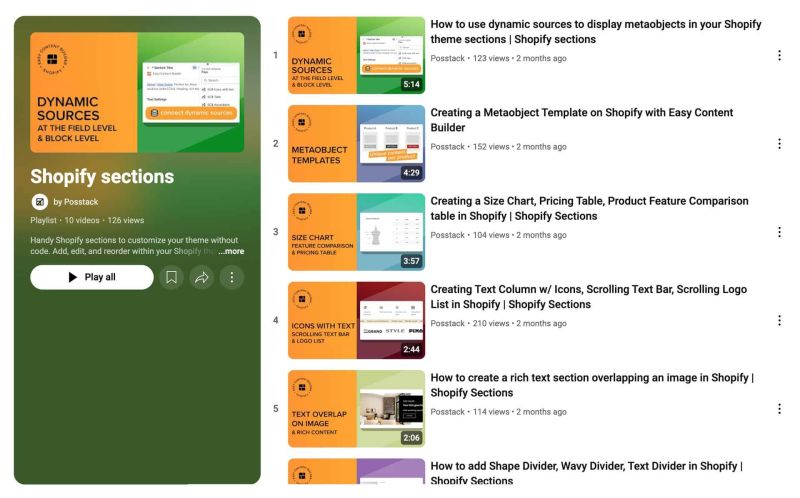
Check out the easy-to-follow video tutorials to learn how to use the sections in Posstack Easy Content Builder, available [https://youtube.com/playlist?list=PLZdliUBbfeeGpJ6_zH4FDyF9QvYv1Pz-2&si=uRzrFdzbmuKowSC7 here]. | |||
: | [[File:Ecb-video-tutorials.jpg|frameless|800x800px]] | ||
:: | {{Note|'''Tips''': Explore the [https://easy-content-builder-demo.myshopify.com/pages/section-variations All Section Library] to understand how you can use the Easy Content Builder to design a unique custom section. |reminder}} | ||
: | {{Note|'''New to the Shopify section?''': Learn [https://posstack.com/resources/shopify-section why Shopify uses sections as a primary way] to create your page layout. |inline}} | ||
==Add Your First Template== | |||
Depending on the pages you wish to customize, select one of the specific guides below: | |||
* [[Create_Template_Apply_to_Multiple_Pages|Create a template for multiple pages]] | |||
* [[Create_Template_Apply_to_One_Page|Create a unique template]] | |||
* [[Customize_standard_pages|Customize homepage, collection page]] | |||
* [[Add_section_settings|Add sections & common configurations]]. | |||
==Jump in Deeper== | |||
* [[Multi_column_layout_examples|Create multi-column layouts]] | |||
* [[Add_section_settings#Edit_Section_Settings|Customize your templates]] | |||
* [[Metaobject intro|Create metaobjects templates]] | |||
==More Actions== | |||
* [[Manage_Templates|Manage Templates]] | |||
* [[Migration|Theme Migration]] | |||
* [[Custom_CSS|Custom CSS]] | |||
* | |||
* | |||
* | |||
Revision as of 07:36, 8 November 2024
Easy Content Builder provides you with sections and templates (including metaobject templates) that can be added directly to your existing Shopify themes.
We've assembled some links to get you started:
Quickstart Video Tutorials
Check out the easy-to-follow video tutorials to learn how to use the sections in Posstack Easy Content Builder, available here.
Tips: Explore the All Section Library to understand how you can use the Easy Content Builder to design a unique custom section.
New to the Shopify section?: Learn why Shopify uses sections as a primary way to create your page layout.
Add Your First Template
Depending on the pages you wish to customize, select one of the specific guides below:
- Create a template for multiple pages
- Create a unique template
- Customize homepage, collection page
- Add sections & common configurations.

