|
|
| (160 intermediate revisions by 2 users not shown) |
| Line 1: |
Line 1: |
| This tutorial will guide you through 4-easy-steps to build your first custom template using the Easy Content Builder app.
| | Easy Content Builder provides you with sections and templates (including metaobject templates) that can be added directly to your existing Shopify themes. |
|
| |
|
| Templates are a collection of sections that are pre-built by Easy Content Builder. Once you add a template to your theme, you can add, edit, reorder, or remove any section within that template to customize your theme.
| | We've assembled some links to get you started: |
|
| |
|
| Templates can be assigned to a product/blog post/page or a product/blog/page group.
| | ==Quickstart Video Tutorials== |
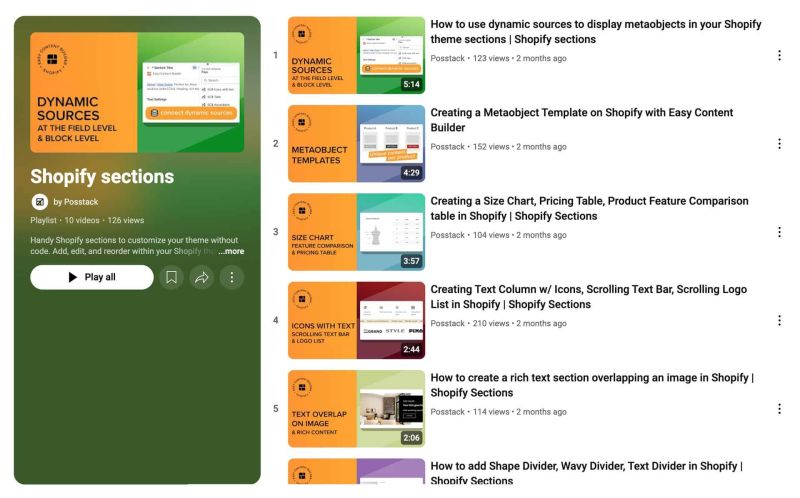
| === Adding your first template === | | Check out the easy-to-follow video tutorials to learn how to use the sections in Posstack Easy Content Builder, available [https://youtube.com/playlist?list=PLZdliUBbfeeGpJ6_zH4FDyF9QvYv1Pz-2&si=uRzrFdzbmuKowSC7 here]. |
| '''Step 1''': In your Shopify admin, select your Product/Blog Post/Page (depending on which page you want to create a custom template)
| |
|
| |
|
| '''Step 2''': On the Product/Blog Post/Page, click on '''More actions''' > '''Create a template'''
| | [[File:Ecb-video-tutorials.jpg|frameless|800x800px]] |
| ::Depending on your specific page type, click on the action label ''Create Template for this product'', ''Create Template for this page'', or ''Create Template for this article''.
| |
| ::[[File:Create product template.jpg|1000x1000px]]
| |
| '''Step 3''': Select a pre-built template suggested by the app (then you will be automatically redirected to the Theme Editor)
| |
| :: [[File:Ecb create 1st template.jpg|1200x1200px]]
| |
| '''Step 4''': Start adding and editing the app blocks as follows:
| |
|
| |
|
| ::'''4.1.''' Define your section column layouts:
| | {{Note|'''Tips''': Explore the [https://easy-content-builder-demo.myshopify.com/pages/section-variations All Section Library] to understand how you can use the Easy Content Builder to design a unique custom section. |reminder}} |
| ::With Easy Content Builder, you define the layout on an individual section level. This is done by adding/editing the Sections Setting block. Learn how to [[Section Settings|add a Sections Setting]] block. | |
|
| |
|
| ::You can add many sections per page, each section with its column layout (See [https://easy-content-builder-demo.myshopify.com/pages/section-variations multi-column layouts examples])
| | {{Note|'''New to the Shopify section?''': Learn [https://posstack.com/resources/shopify-section why Shopify uses sections as a primary way] to create your page layout. |inline}} |
| ::'''<u>Useful link</u>''': Learn how to [[Section Settings|create multi-column layouts]].
| |
| ::[[File:Ecb section column config.jpg|frameless|1024x1024px]]
| |
| ::'''4.2.''' Add new blocks to that section as you wish (See [https://easy-content-builder-demo.myshopify.com/pages/multi-column-layouts pre-built sections examples]). Learn how to [[Add Blocks|add app blocks]].
| |
| ::'''4.3.''' Adjust the padding/margin of each section.
| |
| ::The Easy Content Builder lets you adjust the space (padding and margin) between elements at two levels:
| |
| ::* Section Settings level: refers to the global padding configurations for a section.
| |
| ::* Block level: refers to the padding/margin of a specific block within a section (One section might come with multiple blocks in it.)
| |
| ::[[File:Ecb sections padding margin.jpg|frameless|1917x1917px]]
| |
|
| |
|
| === Preview your custom template === | | ==Add Your First Template== |
| Steps to preview your products, blog posts or pages with the new custom template:
| | Depending on the pages you wish to customize, select one of the specific guides below: |
| # From your Shopify admin, click '''Online Store''' > '''Themes'''.
| | * [[Create_Template_Apply_to_Multiple_Pages|Create a template for multiple pages]] |
| # Find the theme that you want to edit, and then click '''Customize'''.
| | * [[Create_Template_Apply_to_One_Page|Create a unique template]] |
| # Open the dropdown menu at the top of the page.
| | * [[Customize_standard_pages|Customize homepage, collection page]] |
| # Use the dropdown menu to select a template.
| | * [[Add_section_settings|Add sections & common configurations]]. |
| # In the sidebar, click '''Change'''.
| |
| # Select the product or page you want to preview with the selected template.
| |
|
| |
|
| === Next steps === | | ==Jump in Deeper== |
| | * [[Multi_column_layout_examples|Create multi-column layouts]] |
| | * [[Add_section_settings#Edit_Section_Settings|Customize your templates]] |
| | * [[Metaobject intro|Create metaobjects templates]] |
|
| |
|
| * Manage your templates: [[Manage Templates|follow these steps]].
| | ==More Actions== |
| * Edit your template: [[Edit Template|follow these steps]].
| | * [[Manage_Templates|Manage Templates]] |
| * Learn how to set up multi-column layouts:
| | * [[Migration|Theme Migration]] |
| ::*[[Section Settings|1-col boxed layout]]
| | * [[Custom_CSS|Custom CSS]] |
| ::*[[Section Settings|1-col with Background Image]]
| |
| ::*[[Section Settings|2-col with Flexible Col Width]]
| |
| ::*[[Section Settings|2-col with Blank Sections]]
| |
| | |
| === Jump in a little deeper === | |
| If you would rather want to learn more about the fundamentals of the Easy Content Builder app:
| |
| | |
| * Read to understand [[Clean Template]] and [[Prebuilt Templates|Pre-built ECB Templates]]. | |
| * Learn how to create and [[Create Product Templates|assign a template for a group of products]], [[Create Blog Post Templates|blog posts]], or [[Create Page Templates|pages]]. | |
| * Browse the [https://easy-content-builder-demo.myshopify.com pre-built template collection] (Product pages, Blog posts, and Other pages).
| |

