Create metaobject template: Difference between revisions
| Line 4: | Line 4: | ||
==Watch video tutorial== | ==Watch video tutorial== | ||
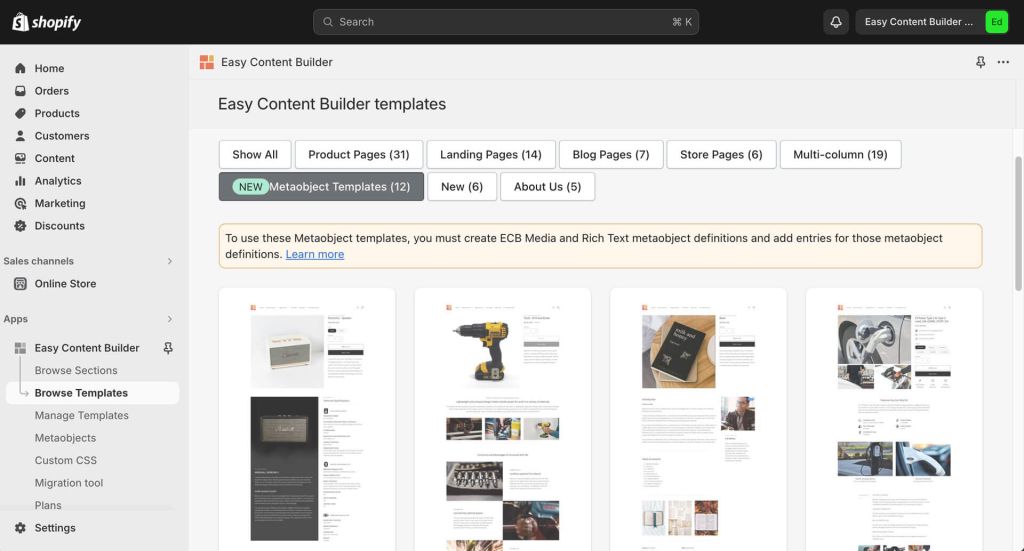
Be sure to watch the step-by-step video tutorial that showcases how to use the pre-built metaobject templates in Posstack Easy Content Builder to create Recipe pages on Shopify, | Be sure to watch the step-by-step video tutorial that showcases how to use the pre-built metaobject templates in Posstack Easy Content Builder to create Recipe pages on Shopify, [https://www.youtube.com/watch?v=8ketmVfzQ78&t click here to watch the video]. | ||
==Create a metaobject template== | ==Create a metaobject template== | ||
Latest revision as of 13:05, 31 December 2024
This page provides instructions on how to create Metaobject template to display content from Metaobject entries that added in previous step.
Watch video tutorial
Be sure to watch the step-by-step video tutorial that showcases how to use the pre-built metaobject templates in Posstack Easy Content Builder to create Recipe pages on Shopify, click here to watch the video.
Create a metaobject template

For more information on adding a new section to the template and connecting a field to a dynamic source, see the Next Step section on this page.
Assign the metaobject template
After creating a metaobject template, you can assign it to one or multiple products/pages using the same steps as when creating a regular template with Easy Content Builder. For more detailed steps, check out here.
Next Step
Add New Sections
Add new sections to the template: you can also customize the template by adding or editing sections to showcase structured content according to your preferences. Learn how to add a section here.
