Create Template Apply to One Page: Difference between revisions
mNo edit summary |
mNo edit summary |
||
| (34 intermediate revisions by 2 users not shown) | |||
| Line 1: | Line 1: | ||
{{DISPLAYTITLE:Adding a template to one specific page}} | {{DISPLAYTITLE:Adding a template to one specific page}} | ||
This tutorial will | {{Note|This tutorial will show you how to create a custom template for '''one product page'''. You can use the same steps to make a template for a Landing page, Store page, or Blog Post.<br><br> | ||
If you want to create a template that you can use for '''multiple pages''', products, or blog posts, follow [[Create_Template_Apply_to_Multiple_Pages|this guide]] instead.|inline}} | |||
{{Note| | {{Note|By default, every product page uses the standard layout provided by Shopify. | ||
You can customize this default template through our app by following these steps:<br> | |||
1. Go to your Shopify admin and select '''Themes''' (under Sales Channel) > Click '''Customize''' next to your current theme to open the Theme Editor.<br> | |||
2. In the Theme Editor, use the template drop-down to select '''Product''' > '''Default Product'''.<br> | |||
3. Add any sections you want to this template. | |||
|reminder}} | |||
If you decide to make a custom template for a specific product page, store page, or blog post, just scroll down this page for a step-by-step guide: | |||
'''Step Overview:''' | |||
* Select a product/blog post/page. | |||
* Select a prebuilt-template. | |||
* Add new sections to the template. | |||
=== Select a product === | |||
{{Note|Follow the same steps to create a template for other page types: Blog post or Store page.|inline}} | |||
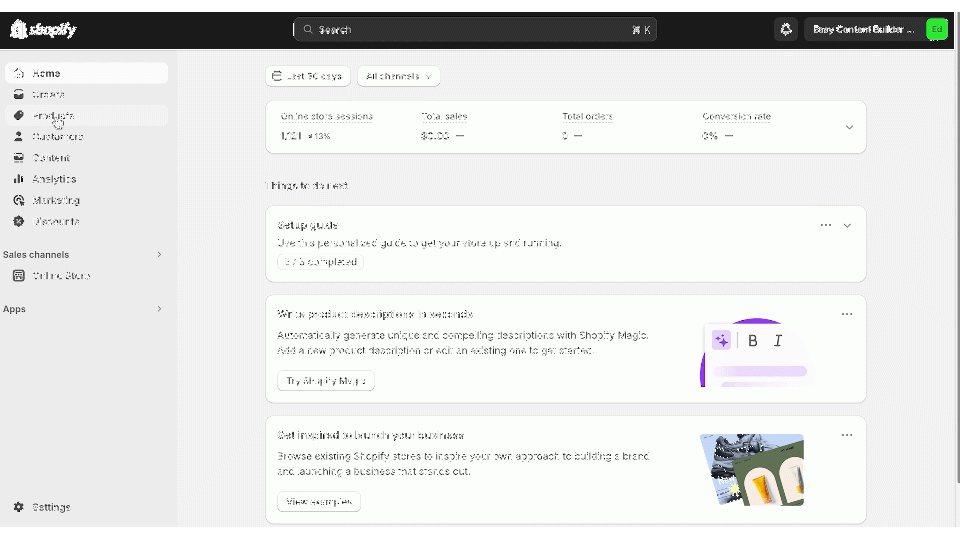
* From your Shopify admin, go to '''Products'''. | |||
* Find and select the product you want to create a new template for. | |||
* Edit the product.. | |||
: [[File:Ecb-unique-page-step1-create-template.gif|frameless|960x960px]] | |||
[[File:Ecb- | === Select a prebuilt template. === | ||
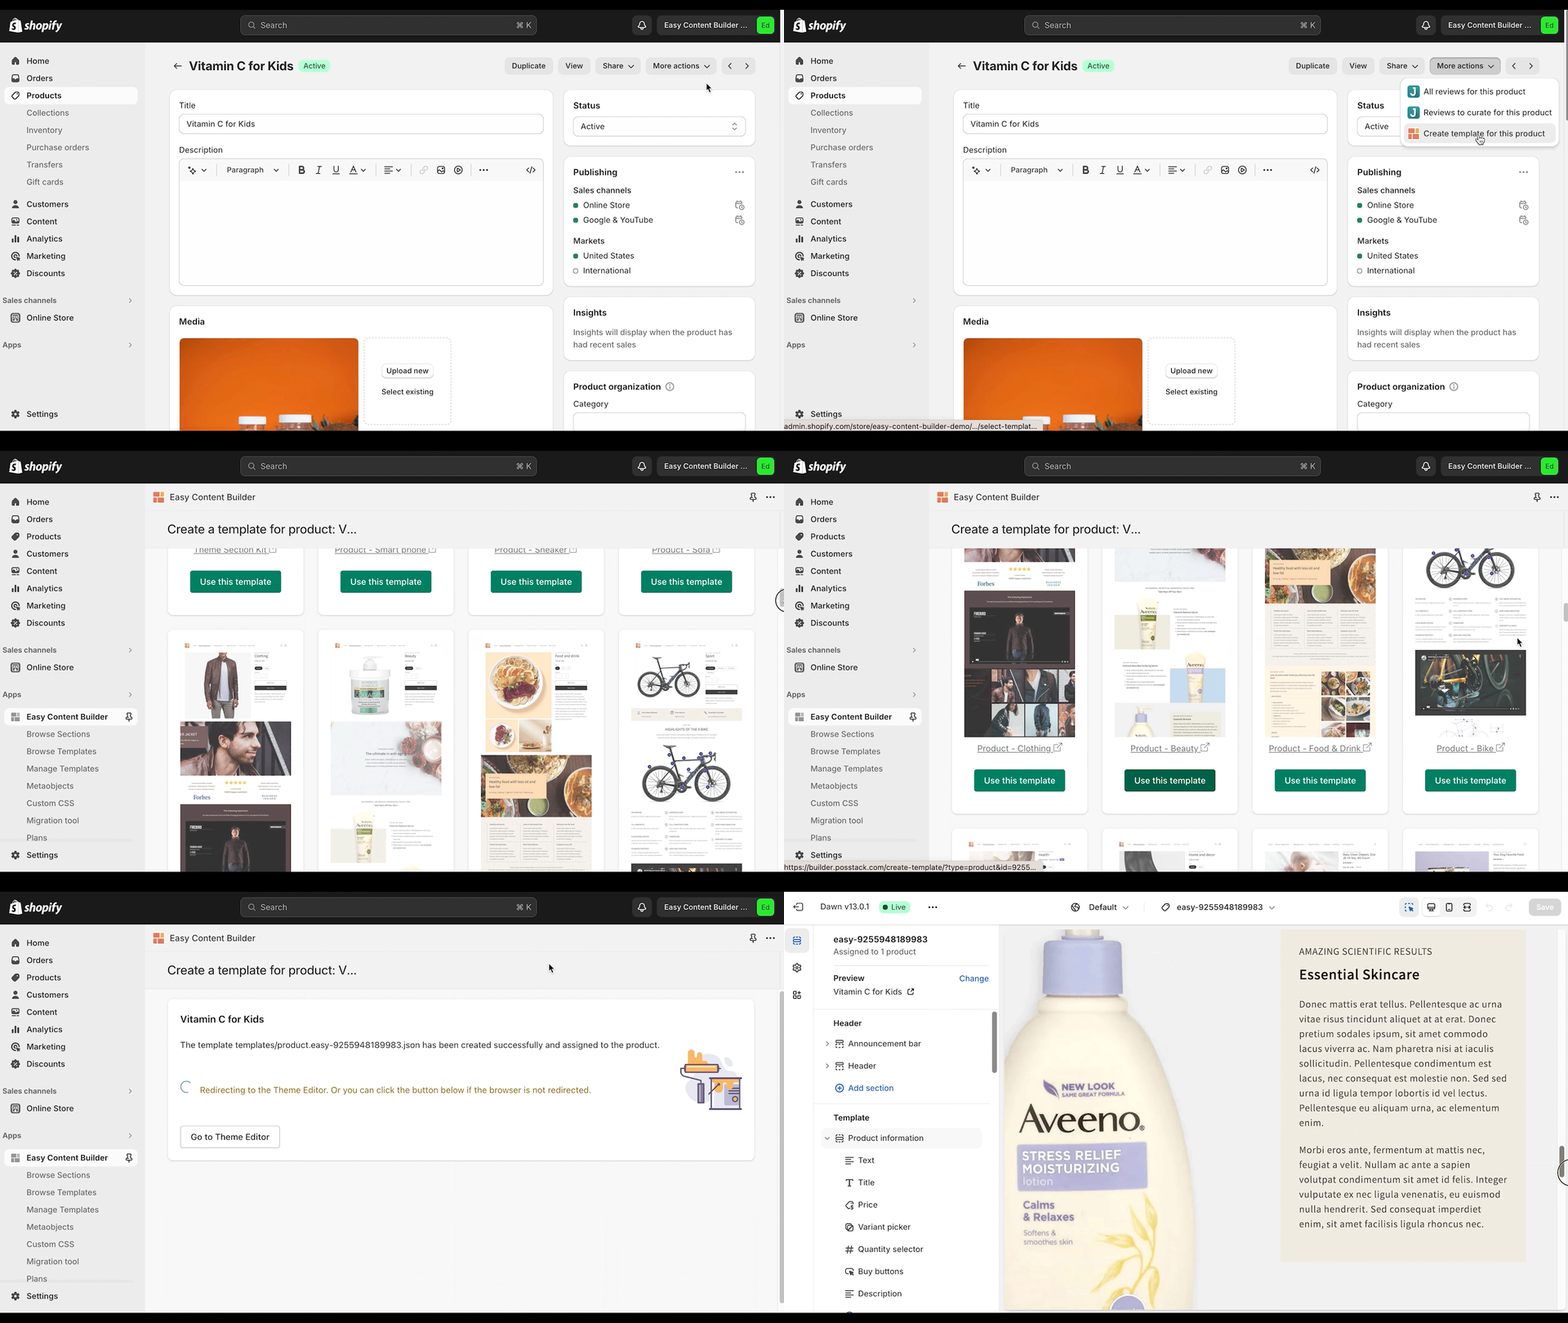
* On the Edit product screen. | |||
* Click on '''More Actions''' on the toolbar. | |||
* Click on '''Create a template for this product'''. | |||
* You will be redirected to the "Browse templates" page. | |||
* Select a prebuilt template you want to use for the selected product. | |||
:[[File:Ecb-unique-page-step2-select-prebuilt-template.-960.gif|frameless|960x960px]] | |||
=== Edit the template === | |||
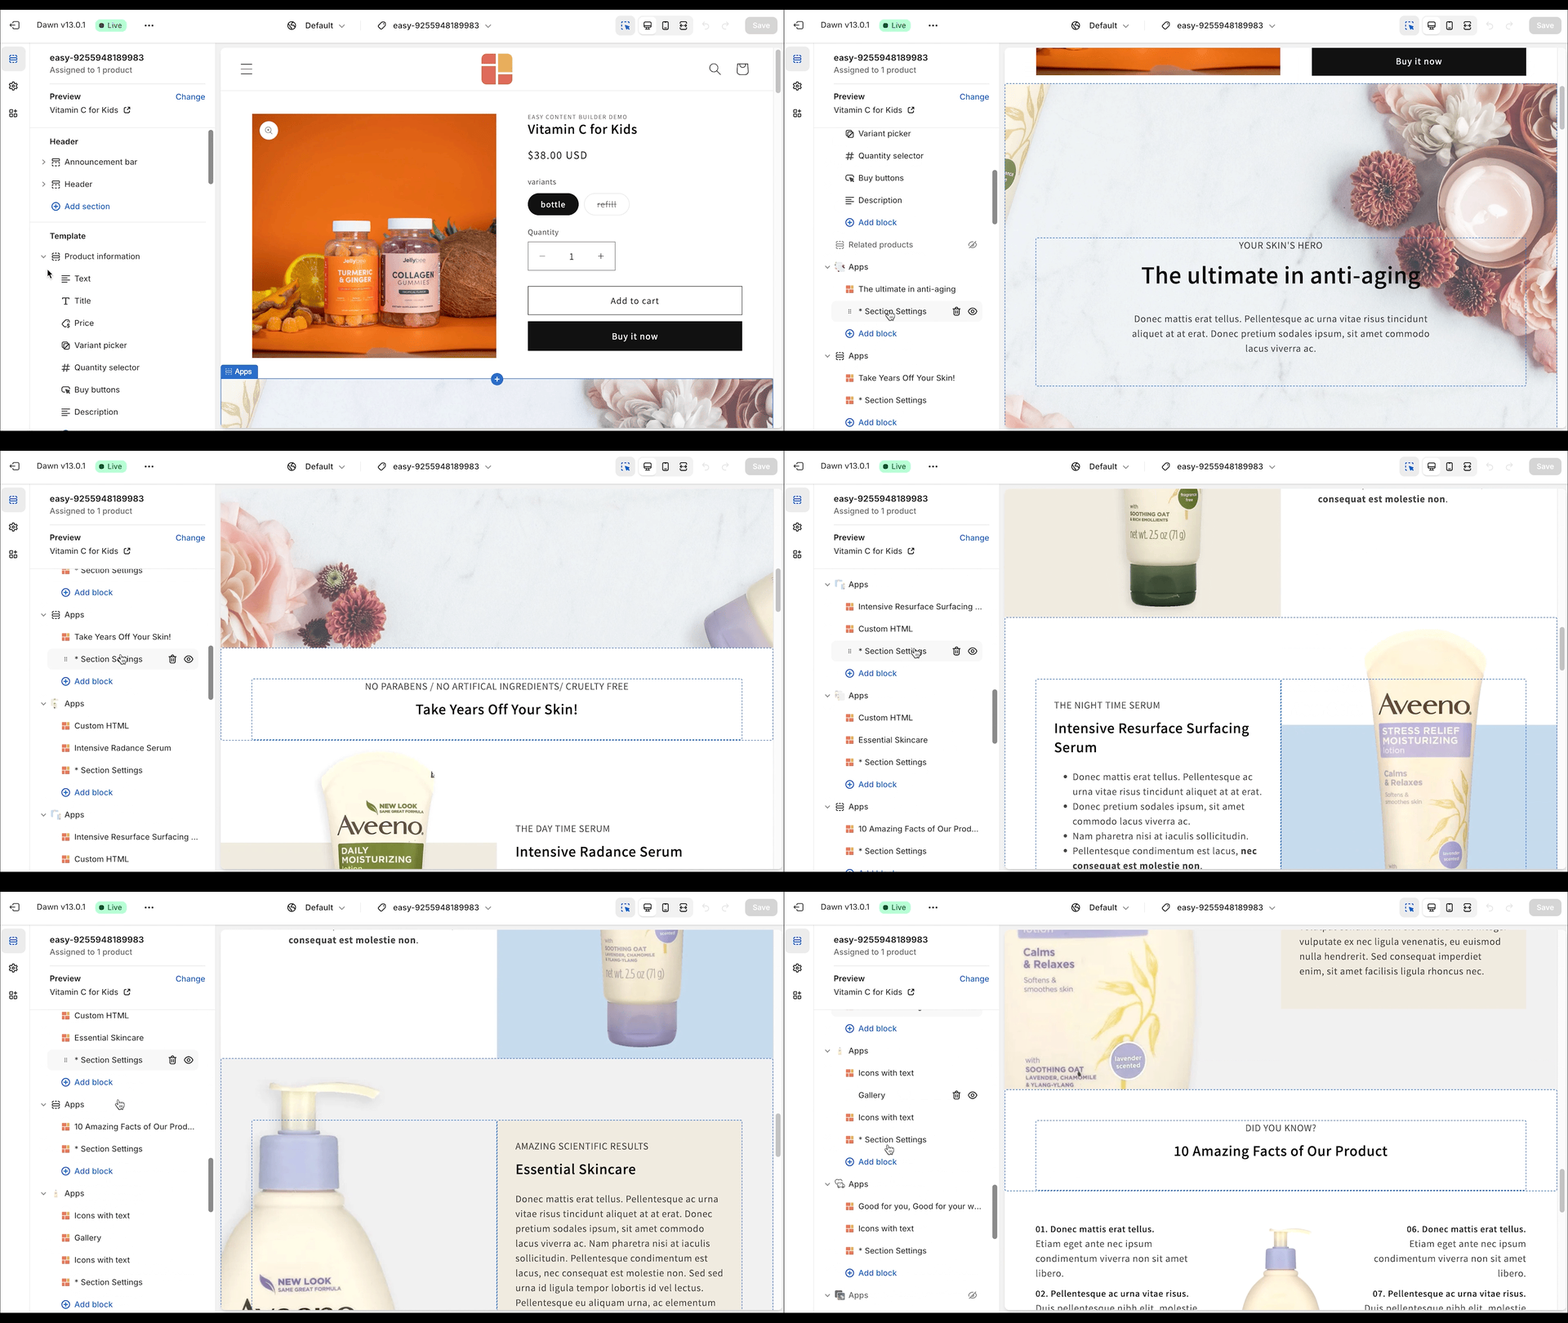
* After you select a prebuilt template, the app will create a new template and assign it to your chosen product. | |||
* You are also redirected to the Theme Editor where you can start editing the template. | |||
:[[File:Ecb-unique-page-theme-editor-960.gif|frameless|960x960px]] | |||
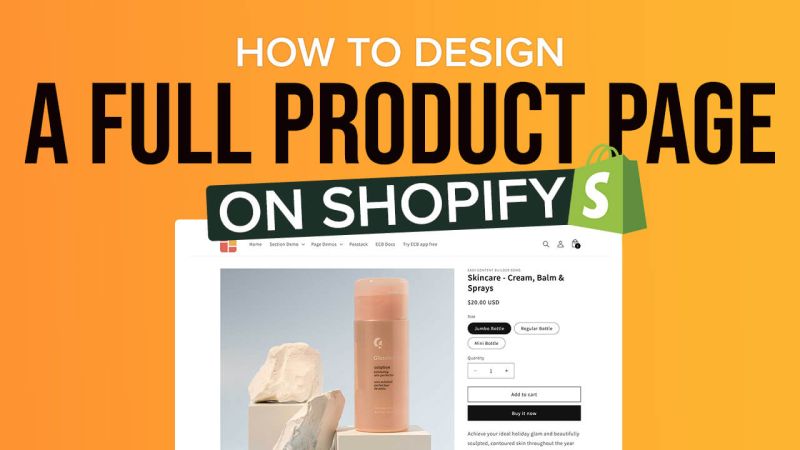
'''Tips''': Check out this video tutorial that walks you through creating a complete Shopify product page (using the Dawn theme) in less than 25 minutes with Easy Content Builder's no-code sections. | |||
[https://www.youtube.com/watch?v=ZnLMGqIAsDc Click here to watch video tutorial] | |||
[[File:Ecb youtube pdp fullpage.jpg|frameless|800x800px]] | |||
==Next Steps== | ==Next Steps== | ||
=====Add Sections===== | |||
Now that you've added the first template using Easy Content Builder, it's time to begin adding sections to that template. Find out [[Add_section_settings|how to add your first section here]]. | |||
Revision as of 03:32, 10 January 2025
If you want to create a template that you can use for multiple pages, products, or blog posts, follow this guide instead.
You can customize this default template through our app by following these steps:
1. Go to your Shopify admin and select Themes (under Sales Channel) > Click Customize next to your current theme to open the Theme Editor.
2. In the Theme Editor, use the template drop-down to select Product > Default Product.
3. Add any sections you want to this template.
If you decide to make a custom template for a specific product page, store page, or blog post, just scroll down this page for a step-by-step guide:
Step Overview:
- Select a product/blog post/page.
- Select a prebuilt-template.
- Add new sections to the template.
Select a product
- From your Shopify admin, go to Products.
- Find and select the product you want to create a new template for.
- Edit the product..
Select a prebuilt template.
- On the Edit product screen.
- Click on More Actions on the toolbar.
- Click on Create a template for this product.
- You will be redirected to the "Browse templates" page.
- Select a prebuilt template you want to use for the selected product.
Edit the template
- After you select a prebuilt template, the app will create a new template and assign it to your chosen product.
- You are also redirected to the Theme Editor where you can start editing the template.
Tips: Check out this video tutorial that walks you through creating a complete Shopify product page (using the Dawn theme) in less than 25 minutes with Easy Content Builder's no-code sections.
Click here to watch video tutorial
Next Steps
Add Sections
Now that you've added the first template using Easy Content Builder, it's time to begin adding sections to that template. Find out how to add your first section here.


