Block Article: Difference between revisions
From Posstack.com Documentation
mNo edit summary |
|||
| Line 1: | Line 1: | ||
{{DISPLAYTITLE:Block: Article}} | {{DISPLAYTITLE:Block: Article}} | ||
=== Overview === | |||
After you've created a blog, you can start writing your blog posts. The Easy Content Builder allows you to manage the core elements of your blog post's content (Title, Content, Meta data, Tags, etc.). | After you've created a blog, you can start writing your blog posts. The Easy Content Builder allows you to manage the core elements of your blog post's content (Title, Content, Meta data, Tags, etc.). | ||
{{Note|You can use the Easy Content Builder app to add various content blocks to your blog post, such as incorporating a how-to video and featuring products on the sidebar. [https://easy-content-builder-demo.myshopify.com/blogs/news/blog-post-2 See this example].|inline}} | {{Note|You can use the Easy Content Builder app to add various content blocks to your blog post, such as incorporating a how-to video and featuring products on the sidebar. [https://easy-content-builder-demo.myshopify.com/blogs/news/blog-post-2 See this example].|inline}} | ||
| Line 7: | Line 7: | ||
=== How to add Article section === | === How to add Article section === | ||
*'''Step 1''': Add a '''Section Settings''' section that allows you to control the global settings of the '''Article''' section. | *'''Step 1''': Add a '''Section Settings''' section that allows you to control the global settings of the '''Article''' section. | ||
Revision as of 04:01, 7 November 2024
Overview
After you've created a blog, you can start writing your blog posts. The Easy Content Builder allows you to manage the core elements of your blog post's content (Title, Content, Meta data, Tags, etc.).
You can use the Easy Content Builder app to add various content blocks to your blog post, such as incorporating a how-to video and featuring products on the sidebar. See this example.
By default, Easy Content Builder offers support for structured data (schema.org) to generate rich snippets for the Article section, ultimately enhancing the SEO performance of your Shopify store.
How to add Article section
- Step 1: Add a Section Settings section that allows you to control the global settings of the Article section.
- In this special section, you can specify multi-column layouts, activate full width, determine the section's maximum width, choose a background color, and set global margins and padding, among other options.
- Step 2: Add an Article section and customize the settings according to your preferences.
If you are new to our Easy Content Builder, please take a look at the Add Sections section for detailed instructions on how to add a section to your theme.
Article section settings
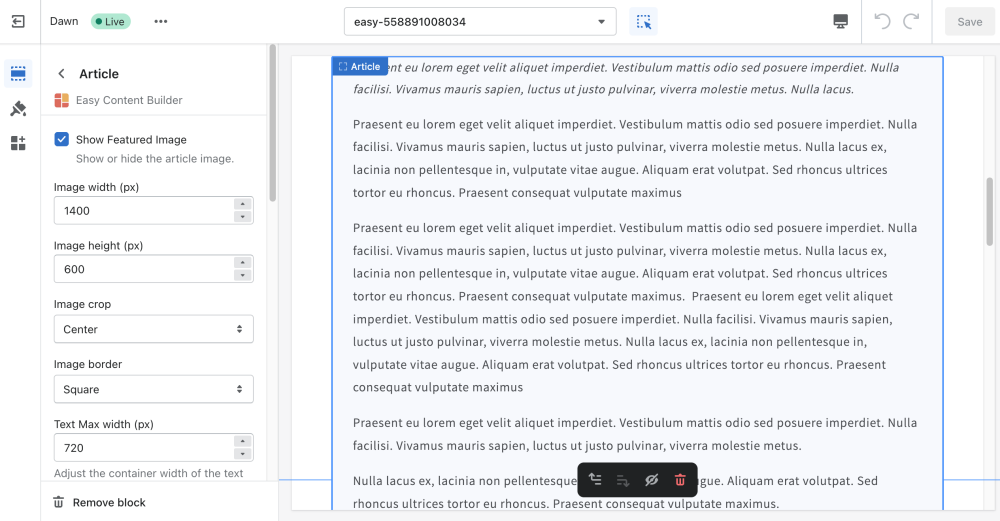
From the Shopify theme editor, click on Article on the sidebar to view the details of settings.
| Section settings | Description |
|---|---|
| Show Title | Show or hide the article's title. You can set a different title in the Section Title. |
| Title Size | Change the heading to H1, H2, H3, H4, H5, or H6. |
| Show Excerpt | Display the current blog post's excerpt. |
| Show Content | Display the current blog post's content. |
| Show Metadata | Display the current blog post's metadata (Author, Created Date) |
| Show Tags | Displays all the tags that exist on the current blog post. |
| Margin | Set the vertical spacing between elements. |
Add other content blocks
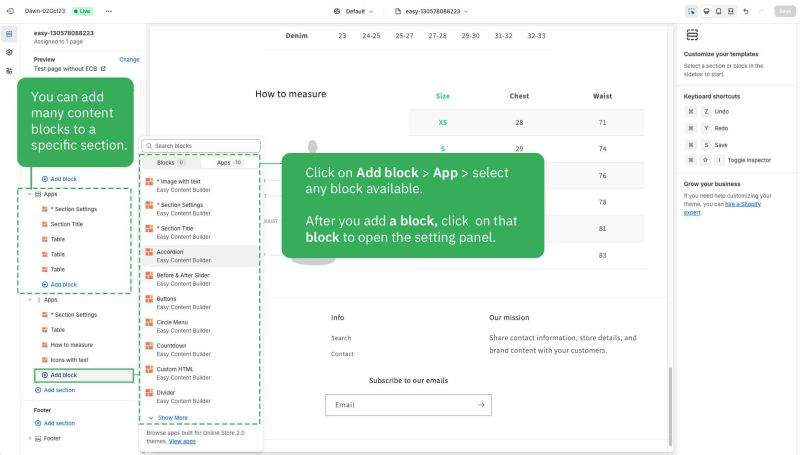
You can add many content blocks to a section you've created. These content blocks will be displayed in different positions within the section, depending on the Desktop/Mobile Layouts you configure.
See all content blocks available that you can add to a section.


