Ecb draft
Example 1: Recipe page
Introduction
Before jumping into the detailed steps, you can check out the live demo of the recipe: click to view.
Recipe post anatomy
You can display the recipes in a classic cookbook style, including:
- Images or videos of the recipe
- List of ingredients
- Cooking instructions
- Additional notes
- Additionally, you can incorporate product placements directly into the recipe pages for cross-promotion purposes.
Why use metaobjects for the Recipe pages?
Using metaobjects for Recipe pages allows you to:
- Utilize a single metaobject template for all recipe pages.
- Display unique content for each recipe, such as Ingredients, Method, Preparation time, Process shots or videos, and more.
- Store and manage all recipe content directly in your Shopify admin.
- Reuse recipe content to be displayed on multiple pages according to your preference.
Steps
1. Create metaobjects
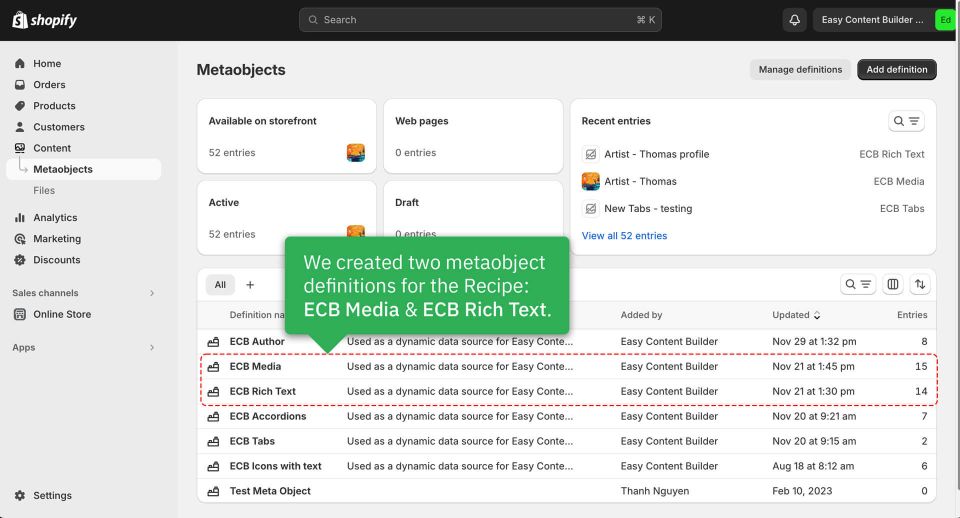
We've defined two metaobjects for the Recipe: ECB Media and ECB Rich Text. Check out the screenshot below.
2. Add metaobject entries
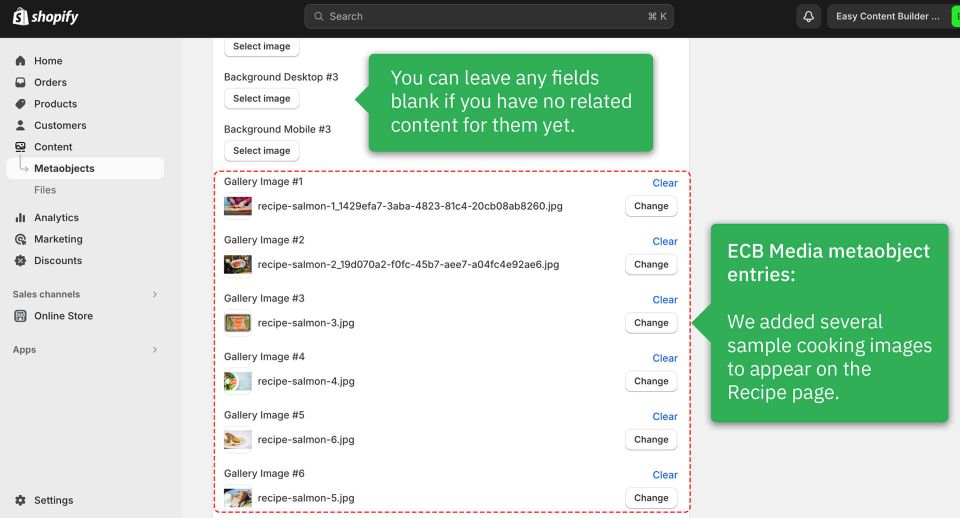
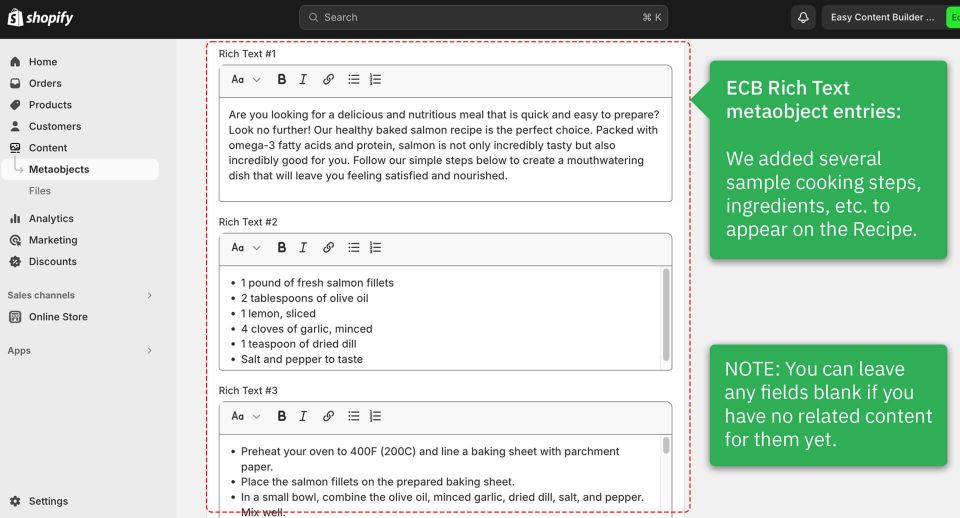
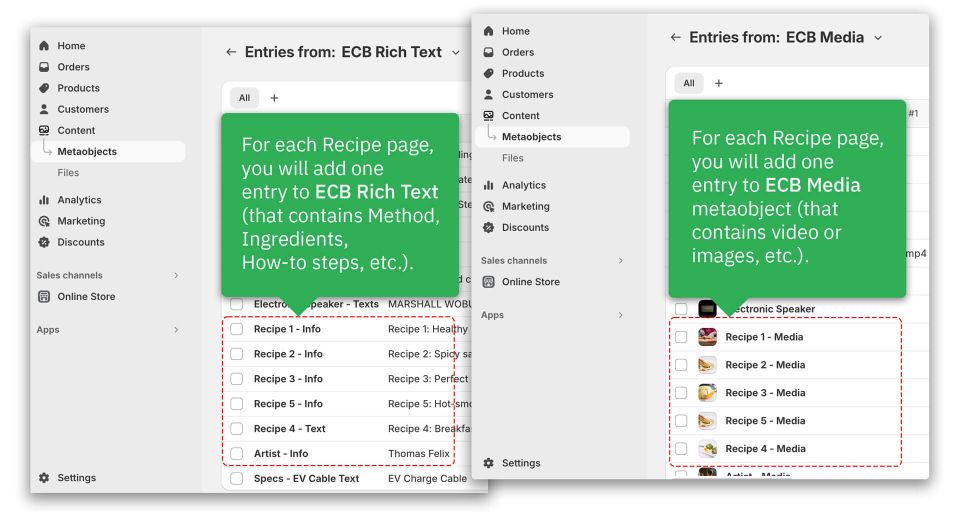
Next, we added metaobject entries for ECB Media and ECB Rich Text.
- ECB Media is where we store sample cooking images.
- ECB Rich Text is where we store sample Cooking methods, ingredients, how-to steps, etc.
Check out the different sample recipes on our live demo. Each recipe is linked to an ECB Media entry and ECB Rich Text entry.
3. Create the template
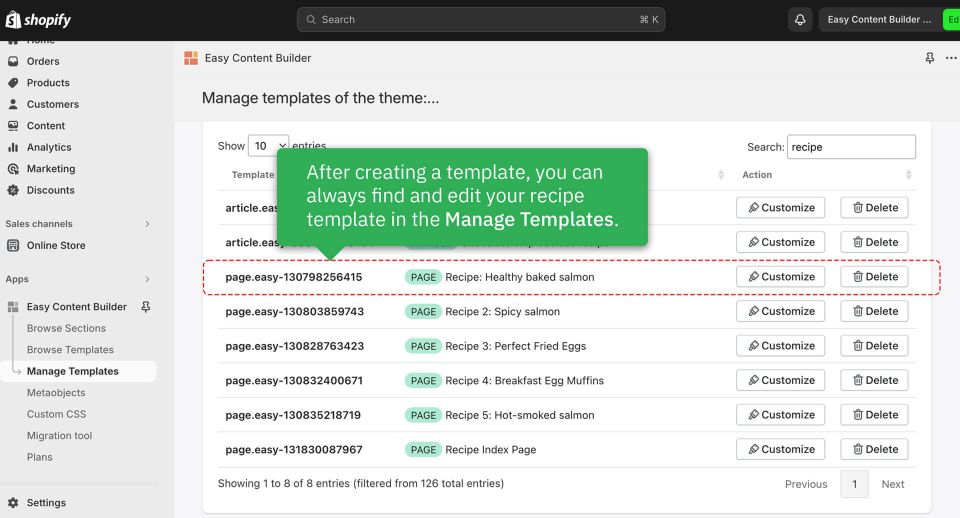
After adding custom data (also known as Metaobject entries) for the Recipe, the next step is to create a Metaobject template to showcase this data on the storefront.
Once you have finished creating the Recipe template, you will be directed to the Theme Editor, where you can begin customizing the template.
4. Add sections
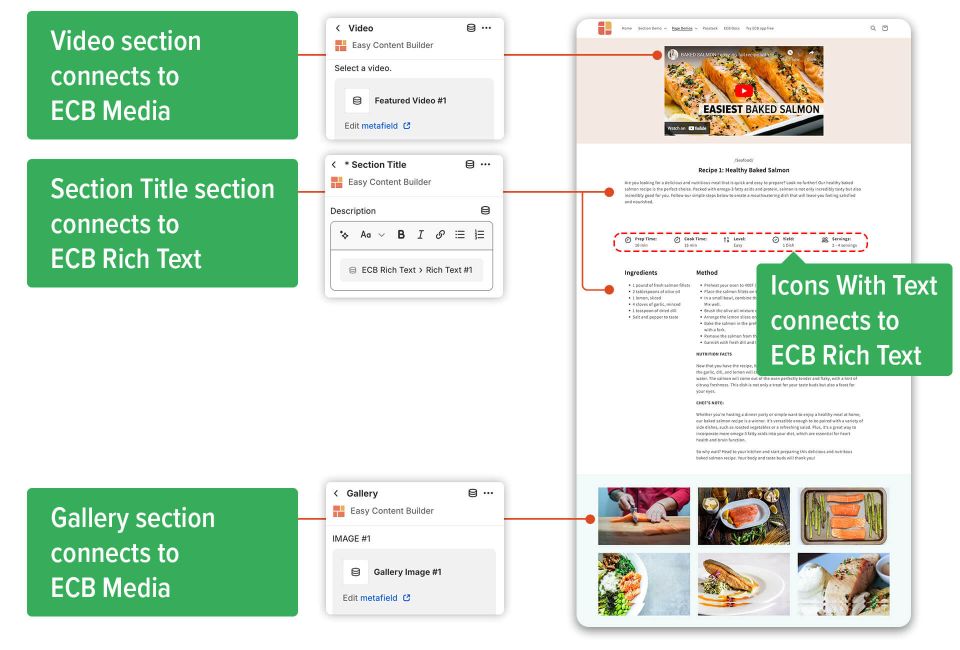
Finally, you'll need to add sections and link them to the Metaobject data to showcase your recipe on your theme.
Below are the sections we included in this sample recipe. You will be able to see which section is linked to which metaobject entry.
You can check out the live demo of the recipe: click to view.
