Adding Sections
This guide explains how to add new sections to a template. To create a new template, check out this guide: Create a template.
Steps Overview:
- Select a template.
- Add sections to the template.
Select a template
From the Manage Templates page:
- Click Apps > Easy Content Builder > Manage Templates.
- Find the template that you want to edit.
- Click Customize to edit the template.

From the Shopify Theme Editor:
- Select Online Store > Themes.
- Next to the theme that you want to edit, click Customize.
- It will navigate to the Theme Editor.
- On the Theme Editor screen > Use the Template drop-down menu to select a template (Home page, collection, product or store page) that you want to edit.

Add Section
To add a new section, you need to add a special block called Section Settings. This block allows you to manage the layouts of your section by choosing your preferred layouts (1-column, 2-column, 3-column, 4-column, or hierarchical layouts) and global configurations (full-width layout, mask color, mask image, background video, parallax animation, etc.).
This video provides instructions on adding your first section:

Add Blocks
After adding your first section, add the blocks you want for this section by following the video tutorial below:

Edit Section Settings
Now that you've added your first section, it's time to further customize this specific section by utilizing the advanced features available in the Section Settings block.
Add multi-column layouts
You can define your preferred section layouts (1-column, 2-column, 3-column, 4-column, or hierarchical layouts) by watching the video tutorial below:

Add the background image
You can set the section's background image. Once added, you can click the Change button below the image to delete or change it.

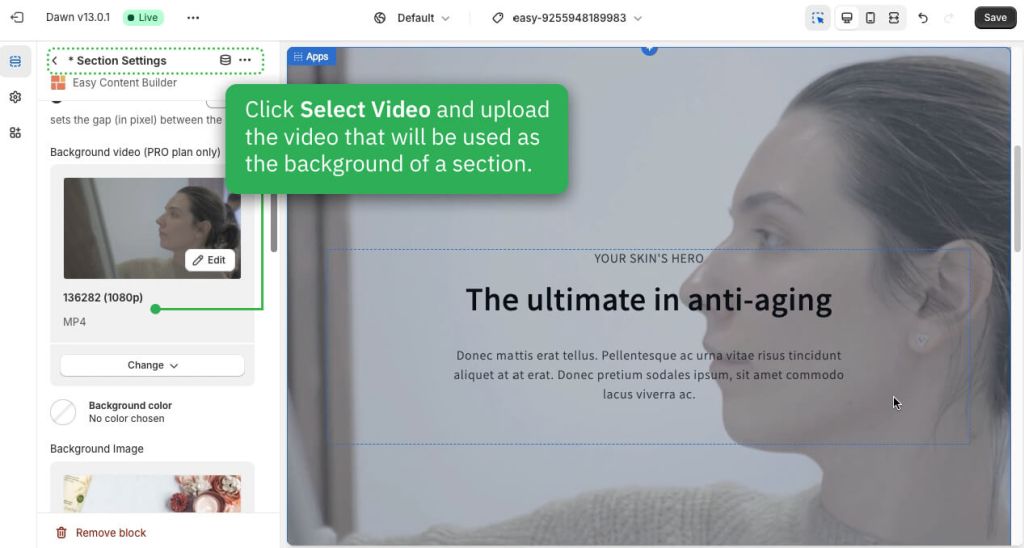
Add the background video
- In the Section Settings block, select a video to use as the section's background. After adding it, you can click the Change button below the video to delete or replace it.

Add the background color
In the Section Settings block, you can customize the section's background color using CSS or Gradient options. Simply click the Background Color and use the Gradient color picker or enter the new color value in the CSS Code field.

Add the background container color

Set text color
In the Section Settings block, customize the text color within the section, which is great for adjusting the text color when using a dark background.

Adjust the column gap
In the Section Settings block, you can also set the gap (in pixels) between the rows/columns.

Next Step
- Add content blocks: follow this guide.